Blog

How to Make a Sensory Box for Toddlers
Sensory play supports everything from cognitive growth, to gross and fine motor skills, to language development and social skills — all while allowing your child to have some fun!
The best part? Sensory boxes are easy to make and can be filled with a variety of things that not only stimulate your children’s senses, but that are easy to find around the house. Let’s discuss more about why they’re important and how you can make one on your own.
Why Is Sensory Play Important?
When children get a chance to feel different textures and do things like scoop, sift, mix, and stir, they learn how to identify objects and their properties, make connections, and strengthen their motor skills. Sensory play also introduces children to new descriptive words, enhances their imagination, and helps them with social and emotional development. All of this plays an important role in your child’s growth and builds a foundation for more complex tasks later down the road.
How to Make a Sensory Box
Now that you know why it’s so important and how sensory play can help your child, here’s how to incorporate it into your playtime.
Step 1: Preparation
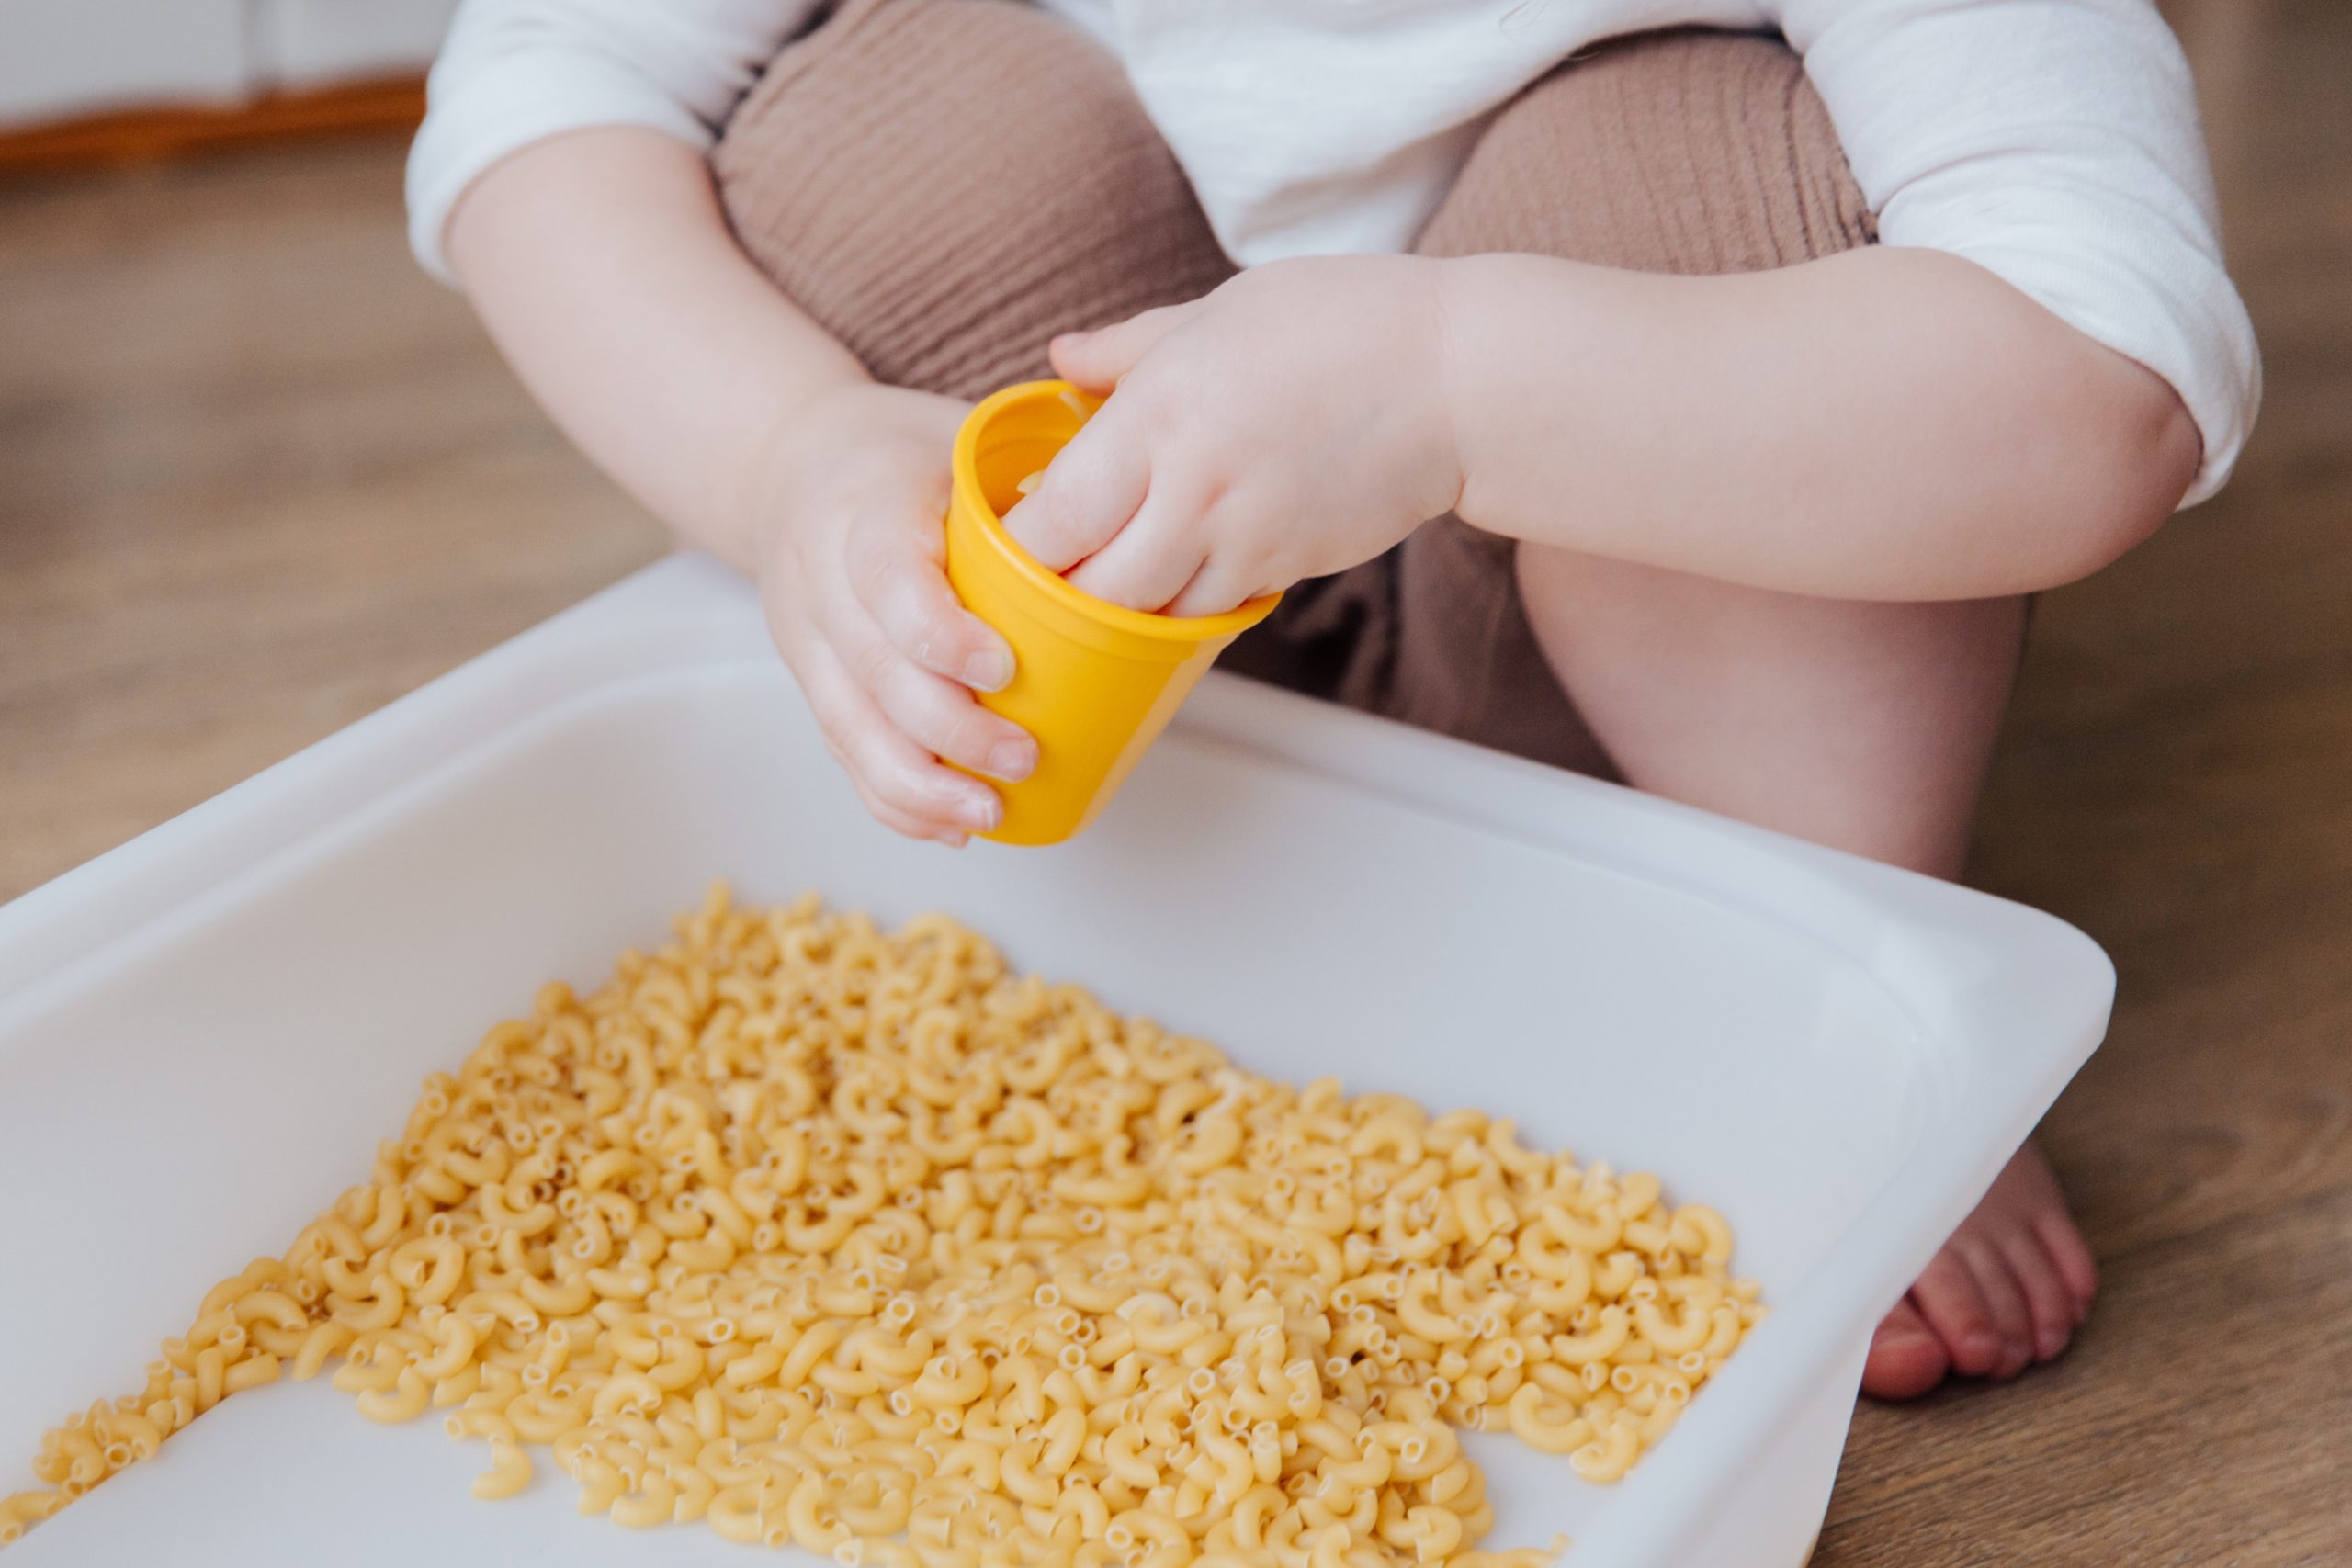
Find a good-sized bin or box and place it on a blanket, old sheet, or plastic tablecloth (shower curtains work too!). Better yet, set up outside. This will help contain accidental spills that are bound to happen. It’s good to encourage children to keep things in the box, but of course, a bit of a mess is to be expected when toddlers are involved!
Step 2: Choose a Filler
You can fill your box with a number of different household items, including:
- Sand
- Rice
- Water
- Beans
- Pasta shapes
- Snow
- Shredded paper
- Dirt
- Birdseed
Add food coloring if you like, and be sure to put enough filler in to at least cover the entire bottom of the box.
Step 3: Add Toys and Tools
The kinds of things you put in the box depend on what your filler is, but in general, choose items such as:
- Ice-cream scoops
- Spoons
- Toy shovels
- Bowls, cups, and containers
- Plastic molds
- Sifters
- Funnels
- Tweezers
- Measuring cups and spoons
- Small toys like animal, dinosaur, or car figurines
- Nature items like acorns and pinecones
If your filler is liquid, you can add basters and droppers too.
Step 4: Ask Questions
Once your child has had a while to explore, experiment, and discover, start talking to him or her about what they feel, see, hear, and smell. Ask what they think, like, or don’t like. Ask if things are heavy or light, soft or hard, bumpy or smooth. Having these conversations while playing is a great way for your child to learn without even knowing it!
Sensory Boxes for All Occasions
The nice thing about a sensory box is that not only you can simply put a lid on it to put it away to return to later, but you can also keep children engaged by switching up what you fill the box with. You can even make sensory boxes that are holiday themed. For example, check out the Valentine’s sensory box idea below:
Example: Valentine’s Day Sensory Box
Fill with pink and red shredded paper or candy sprinkles. Then, along with the basic tools, add one or more of the following:
- Heart-shaped cookie cutters
- Red, pink, and purple pom poms
- Plastic jewelry
- Cupcake papers
- Candy hearts
You can easily make birthday sensory boxes, as well as ones for Easter, Christmas, Halloween — you name it! Be creative and have fun with it, and your toddler will be sure to as well!
Sensory boxes are just one of the many wonderful ways you can support your child’s development through play. If, however, you feel your child isn’t responding to some of these active and developmental play activities, you may want to consider consulting with an
The About Play team is here to help! Learn more by contacting us today.
